Thanks Tonchyz...I actually learned something there. I like robots, and that is one cool looking dude. Keep it up man.
Digital Inking and Coloring
by TonchyZ
|
DIGITAL
INKING AND COLORING Brief Contents:
From
thumbnail to final pencils
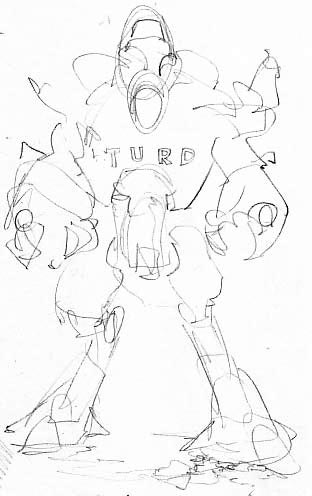
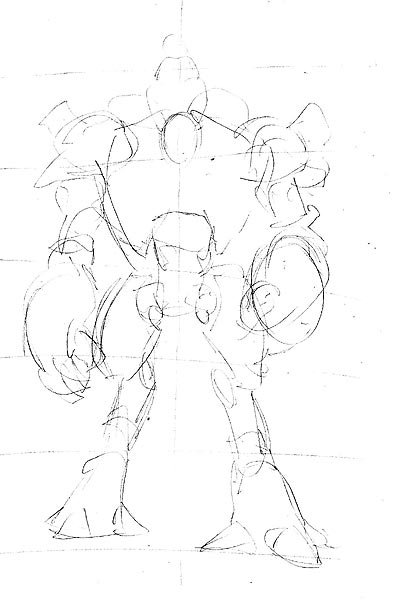
______________________________________________ Next step is to work it out larger. Sheet of 80g/m2 photocopy A4 (8.5''x11'') paper usually works good for me. For easier upsizing you can draw a grid over the thumbnail sketch (it's not cheating.). As you can see I had put up a vertical line and some horizontal ones to get the proportions rights. Made some changes to the posture and design along.
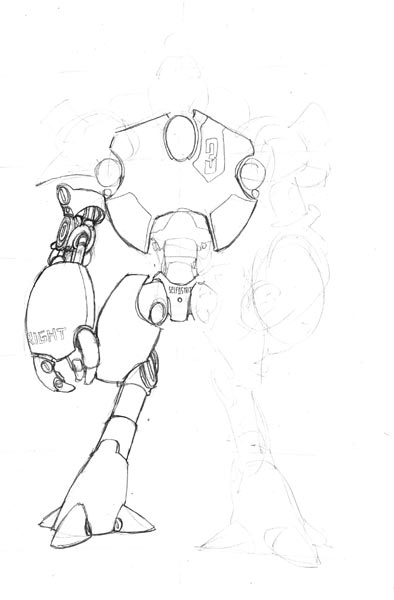
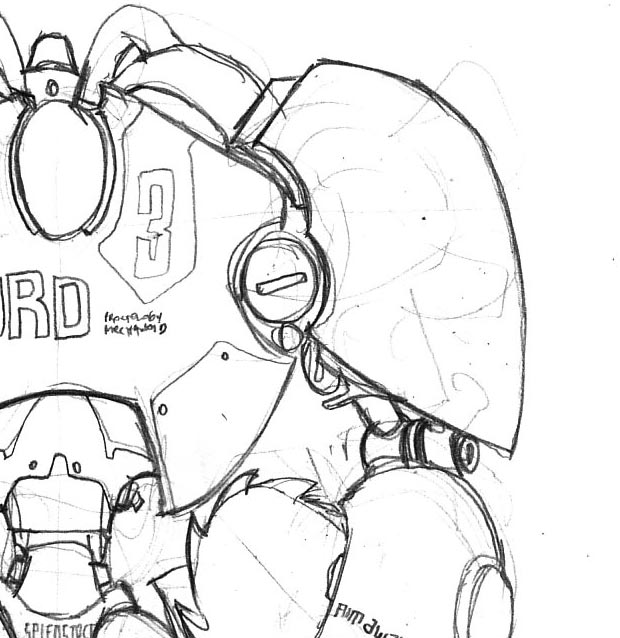
______________________________________________ Penciling
in progress. Remember to have various line widths to emphasise the volume.
This can be added later while inking, but it's good to get a habit of
doing that when penciling. Thicker lines in the front, thinner in the
back. Atmospheric perspective on work. Also, don't be afraid to make mistakes
(but don't go mad and scribble randomly either :). Working clean is very
good but if you work without a lightbox, tracing the the new steps on
new sheets, or inking manually and erasing the pencil underneath- things
can get messy. Photoshop can clean most of the smudges and lighter lines
with some fiddling on the Image > Adjustments > Levels ( Ctrl+L
). For other artifacts we use the eraser.
______________________________________________
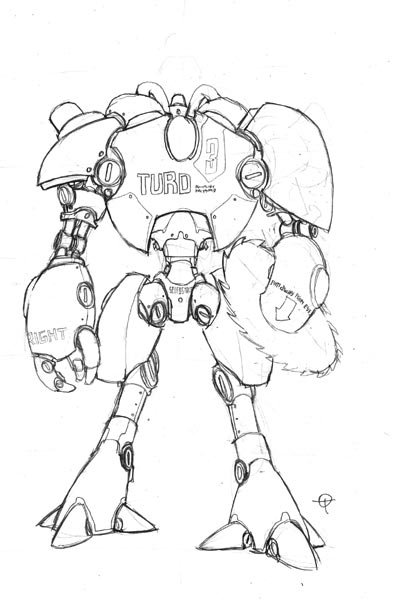
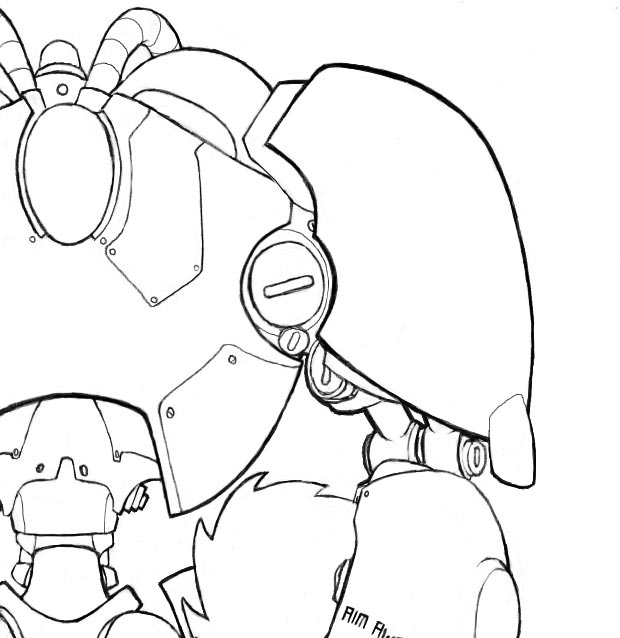
Finished
pencils. Now, we have two options:
The whole
process so far took somewhere around an hour. Lots of erasing took its
toll :)
This is what the final pencils look fullsized:
Technique
1)
Technique
2)
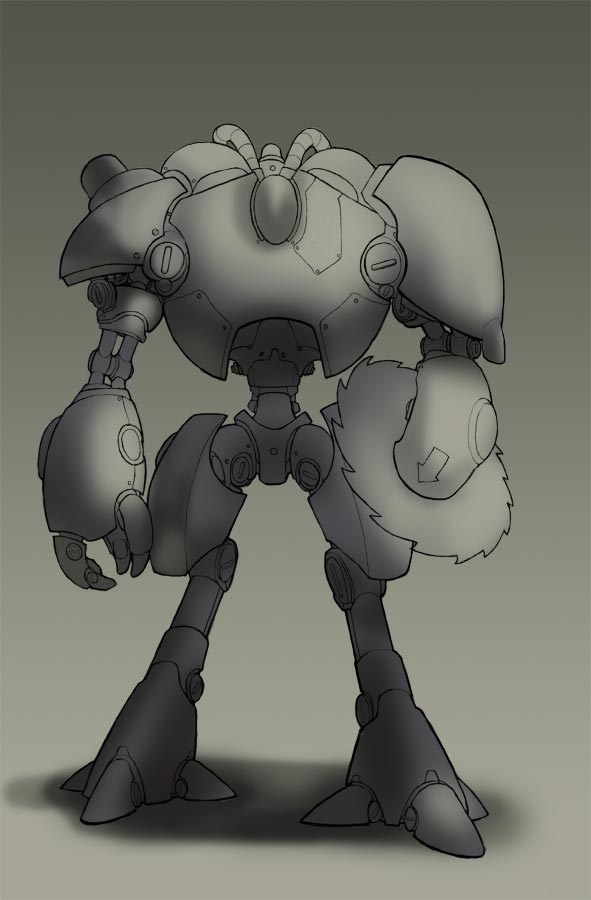
After some two-three hours of inking joys the piece looked like this:
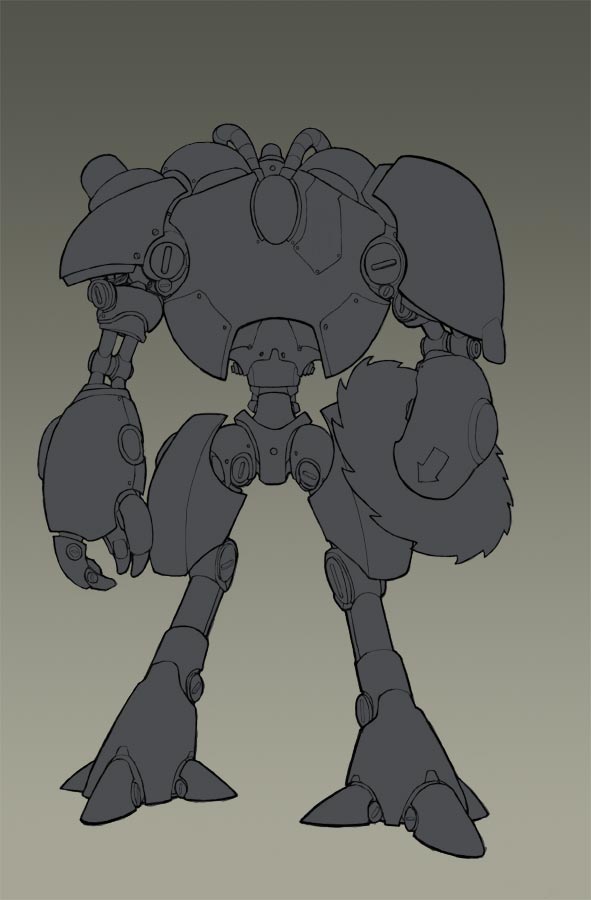
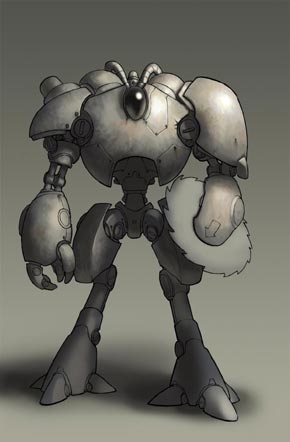
Coloring
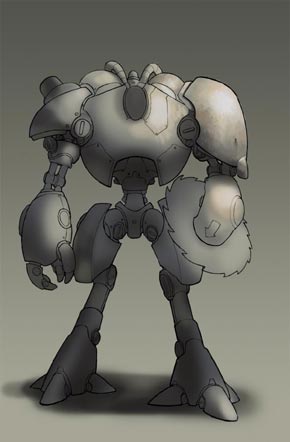
Next I added a shadow (be sure to make it dark enough where the object touches the ground or it'll look like it's floating) and some light definition on the robot body. Big soft brushes used for both.
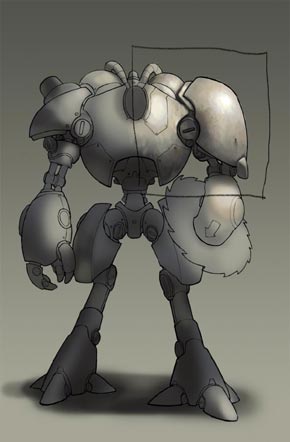
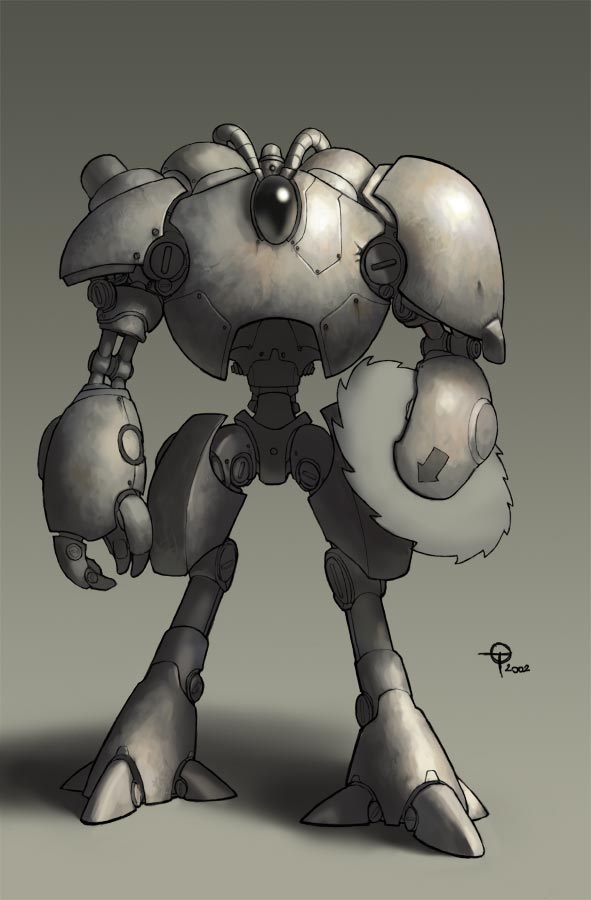
Now all that is left is to render the form due to defined lightsource. Not that it's an easy task sometimes. I used hard edged brushes, working in this size what you see as fullsize (accidentally saved the downscaled version over the original- don't let it happen to ya). Lots of colorpicking and warm colors added. Tip: Keep a finger near the alt key at all times to colorpick Here's some steps during the rendering process:
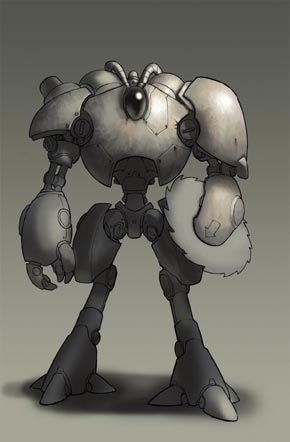
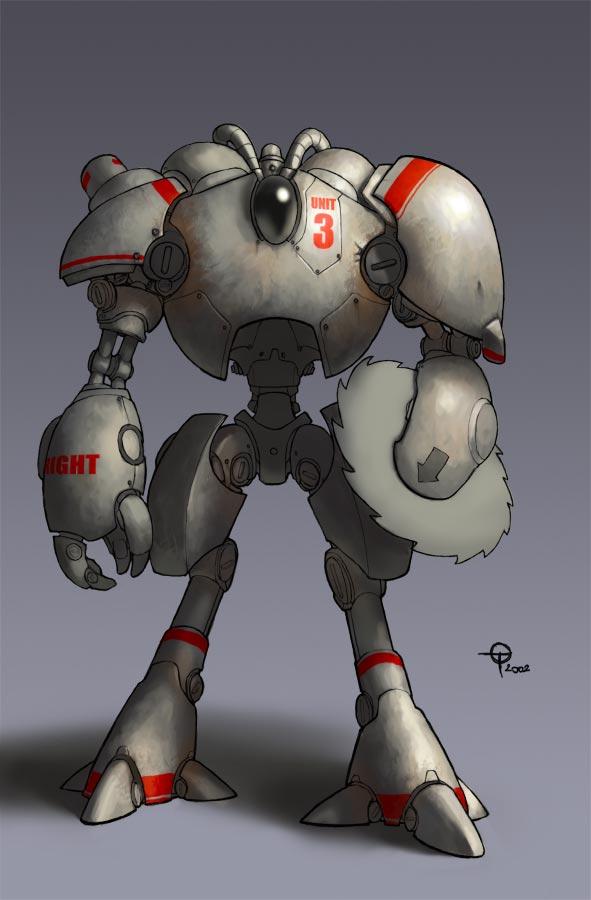
Photoshop tweaks and some details added after my friends commented:
The last
few steps aren't really informative, I'm aware of that, but some other
time I may be competent to explain everything I did. Why did I put the
red blobs here, blue ones there? Why do the highlights look the way they
look? Playing up the materials, texture. Most of that comes with experience
and observation. Paint from life and keep looking at things. See how the
light changes. Then you can apply it to your pics just like I did here.
Still more to learn, of course. It's a life long pursuit. Anyway, I'm
ramblin already :) Hope this 'tutorial' was fun and i'd be really glad
if you learned something. Any comments, crits, praise, marriage proposals,
reply below.
|
Jump to Another Tutorial
Darth Maul by TonchyZ
Portrait by Mongi
Sky and Eyes by Gecko
Maya Tutorial One by DJ MonkeyBoy
How to make really awesome graphics by Greater Evil
Tigress by Leonardo
Happy Tree by Leonardo
Tiles.ice.org by Root88
Digital Inking and Coloring by TonchyZ
Maya Connections by Jamie McCarter
Wet Fruit by DeadGuido
Basic Vectors by DJ Monkeyboy
How to take super cool photographs! by Quantum-X
Landscape by Leonardo
Posts
Impressive..
Wow
If i ever get my hand to obey the commands i give it, this will be on my to-do list! thanks! :)
THANKS!!!!!!!!!!!!!!!!!!!!!!!!!!!!
Thanks very much for that tutorial!
I've been looking everywhere for that type of thing and couldn't find.
Thanks! My appreciations.
I've been looking everywhere for that type of thing and couldn't find.
Thanks! My appreciations.
Great!
I didn't see this kind of tutorial before, this is great!
Fucking fantastic!
OMG THAT ROBOT RULEZ!!!
Omg i am jealous on ur drawing skills :) thx
nice one dude - thx for the tips ...
Tutorial Thanx
A-fucking-mazing! You rule!
Well ,To HARD!
(technique 1)I can do erasing much faster than using eraser tool, just adjust "it", then you'll get it, HAHAHAHA!
(confused? don't be or must be!(hmm, or maybe you can do dat, but just ain't tell us?)
Pscyhonetic Dead
(confused? don't be or must be!(hmm, or maybe you can do dat, but just ain't tell us?)
Pscyhonetic Dead
ccc
this image really sucks :-)
forbidden???
just kidding
p.s. samo ti završi za onaj natjeèaj
forbidden???
just kidding
p.s. samo ti završi za onaj natjeèaj
Wicked.
Love the site. Great tuts. Keep it up! :D
buzz saw
The buzz saw doesn't look anything like metal.
Yeah
it's ok...
Lighting
The dull grey works well for shadowing the lighter areas, but leaves the areas with larger shadows, especially in the middle of the peice, looking flat. For heavily shadowed places, I would go very dark, even black, with some small highlights slightly lighter than the grey.
Great job...
Just anything else, if you don't want to kick the "erase phase", there's a technique... when you make your draw, do it with a blue light pen... inking in black, then in photoshop just kick out the cyan layer... only black will rest... it's an easier way....
But one more, great job!
But one more, great job!
Great job...
Just anything else, if you want to kick the "erase phase", there's a technique... when you make your draw, do it with a blue light pen... inking in black, then in photoshop just kick out the cyan layer... only black will rest... it's an easier way....
But one more, great job!
But one more, great job!
Excellent
awesome work, it looks great. Wish I had a couple of those things heh.